You know those little tick marks that you put on contour lines to show the direction of slope? Here's a confession, every year for the past 15 or 20 years, I've been adding those lines to maps individually, one at a time, with Photoshop or Adobe Illustrator I'd draw one tick mark and copy it a bunch of times and then rotate and place each one manually. Maps made at the end of the day or later in the week had fewer and fewer tick marks spaced wider and wider apart. But not anymore, here's a trick to make those tick marks perfectly consistent and much simpler. I'm using Adobe Illustrator in this example, but it should work in any vector graphics program that lets you make dashed lines. (click on the images to make them bigger)
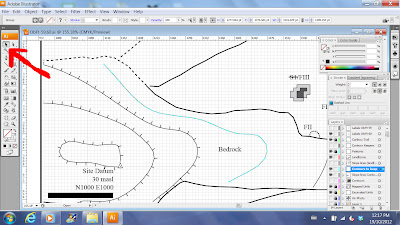 |
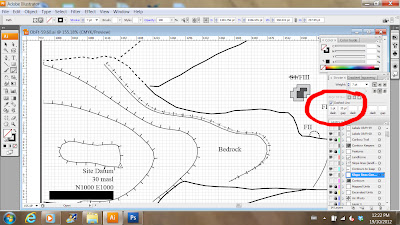
| I want to add the little tick marks to the contour line looping around the word "Bedrock". I've clicked on it with the "Selection Tool", which is why its highlighted blue. Once its selected, Copy It - I usually just use CTRL C. |
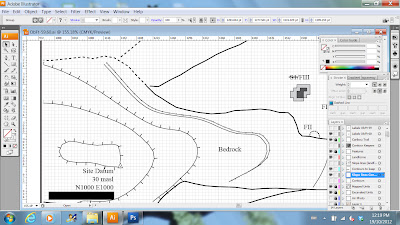 |
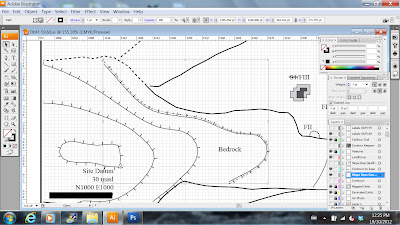
| Paste a copy of your line onto your map. I like to use CTRL F so that it lies exactly on top of the original line and I usually put it on a separate layer, but that's optional. I've moved it a little bit in this image so you can see it next to the original line. |
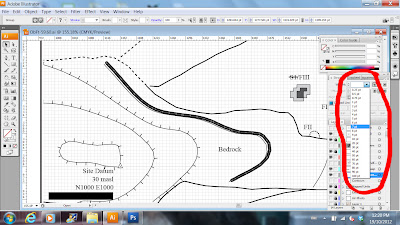 |
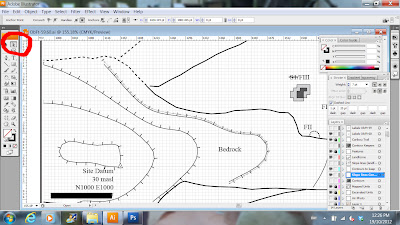
| Change the weight of the line. You can make it any weight you want - the thickness of the line will be the length of your tick marks. I made my 7 points. |
 |
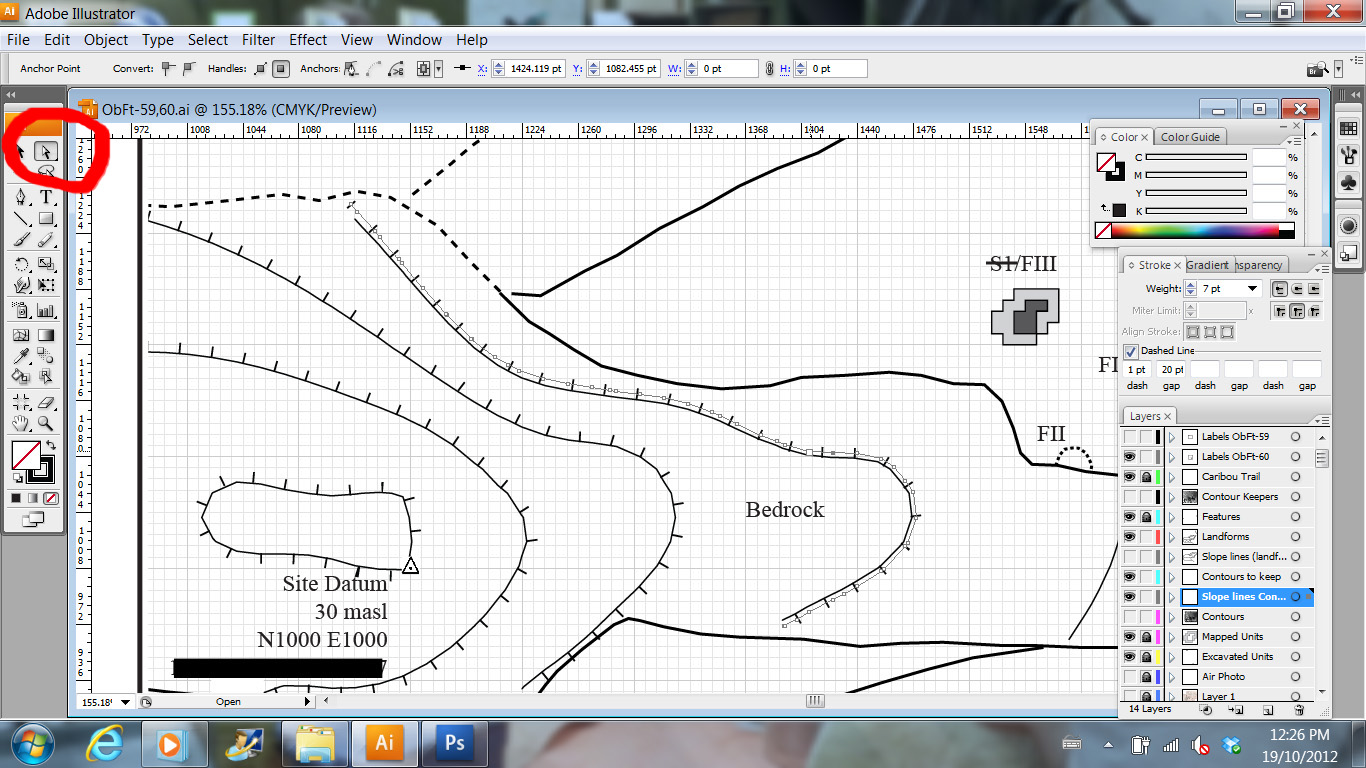
| Now make your solid line a dashed line. The default setting will usually be evenly spaced dashes and gaps. Also, its important that you select "Butt Cap" for the end of your line. The other end cap styles will make circles or rectangles rather than nice thin lines. |
 |
| To create the individual tick marks, change the spacing of the gaps and dashes. I like using 1pt for the dashes and 20 pts for the gaps. |
 |
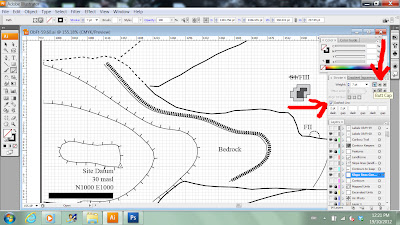
| On a simple line, without any major curves you can just move the dashed line next to the original line and you're done. On a more complex line, like the one in the example, you may have to scale the line up or down so that it matches the original curve. You can use the bounding box to drag the line, or the scale function to increase or decrease the size of the line. |
 |
| Sometimes the line doesn't fit exactly, so you may need to use the Direct Selection Tool to select and move individual nodes or line segments. Even on the most complicated contours, I find that I can usually get 80-90% of the line to fit just by scaling or using the bounding box, this is really just for small tweaks. |
 |
| That's it, its done. On a simple line this takes a few seconds. On a complex line, it might take a few minutes. |
Photo Credits: Screen Grabs from Adobe Illustrator


Great. Thanks! Has anyone else offered a more straight forward technique? I came across your blog while trying to create and add a line swatch to a swatch library. If this is possible it would be game changer! Anyway, thanks again for this solution.
ReplyDeleteA friend has had luck with making custom lines (or brushes?) with the tick marks built in so they are on the line when you draw them, but I don't know the exact steps he took. Perhaps that's what you were working on with the line swatch library?
Deletecool
ReplyDelete